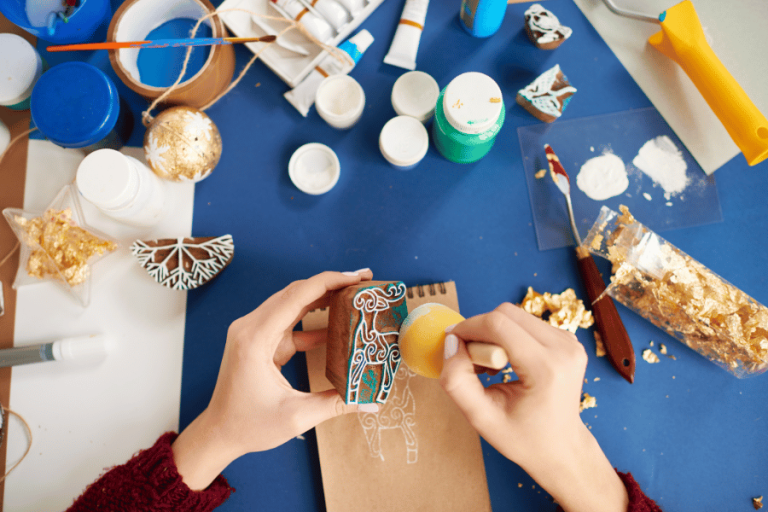

Acrylic paint is naturally water resistant when it is properly cured. But prolonged exposure to water such as heavy rain or moisture, the paint can be damaged. Learn more step by step…
However, there have good options to make waterproof craft acrylic paint. Such as:
- Use proper water resistant acrylic paint (specially design for outdoor use)
- Mixing paint with medium such as polymer
- Applying sealer on craft paint
How to Make Craft Paint Waterproof: 3 Ways (Step by Step)
Use Proper Water Resistant Acrylic Paint
Waterproof craft paint is made of acrylic resin, pigment, and water – it’s tough, quick-drying, and applying multiple layers makes painting waterproof, fade-resistant, crack-resistant, and peel-resistant. For outdoor use, check out the following acrylic paints as the ultimate waterproof craft paint solution.
You can check details about acrylic paint on Wikipedia.
Best Waterproof Acrylic Paint for Outdoor Crafts
| Paint | Features | Water Resistance |
| Liquitex Professional Heavy Body Acrylic Paint | Premium, High paint pigment | Great |
| Golden Heavy Body Acrylic Paint | Premium, High paint pigment | Great |
| Winsor & Newton Professional Acrylics | Cheap, Lot of color available | Medium |
Best Waterproof Acrylic Paint for Outdoor Crafts: 10 Second Summary
Best Overall: Liquitex Professional Heavy Body Acrylic Paint and Golden Heavy Body Acrylic Paint parfect choose for go. Heavy pigment load and creamy consistency, make them highest water resistant, premium. Also superior lightfastness, layering, glazing, impasto, long-lasting durability the paints are always first choice.
Best Alternative: Winsor & Newton Professional Acrylic Paint also good artistic grade paint. Have a lot of color options at an affordable price. But not as great outdoors as Golden and Liquitex heavy body. However apply sealer or mixing with medium strong waterproofing possible.
Pro tip: If you need completely waterproof craft acrylic paint, there have more options available. Choose highest grade labeled as “exterior” or “weather-resistant” paint. If you need more strength, choose marine-grade acrylic paint. Also apply proper sealer coat on paint, it can be made completely waterproof. However, you are not happy yet, then there is not any water resistant acrylic paint available. Go for oil or other paint.
Mixing Paint with Polymer Medium: Step by Step
Acrylic paint durability and water resistance can be increased with polymer mediums which main ingredient is acrylic resins. It improves adhesion and flexibility too – ideal for outdoor painting or weather-exposed murals. Certain polymer mediums even contain UV stabilizers and other additives for extra protection.
How to Mix Polymer with Acrylic Paint?
Step 1: Gather Materials
Need the following materials:
- Acrylic Paints
- Polymer Medium
- Mixing Palette or Plate
- Palette Knife or Brush
Step 2: Mixing Paint and Polymer Medium
Put desire amount of acrylic paint on paint palette. Then apply slowly and a small amount to the medium each time. You can mix 1:2 medium and paint ratio. But the ratio depends on your preference. Take a palette knife and mix the paint.
Here are some best polymer mediums
| Polymer medium | Grade | Note |
| Liquitex Professional Gloss Heavy Gel Medium | Artist | Excellent for creating glossy, waterproof surface |
| Golden Polymer Medium | Artist | Make paint glossy, waterproof |
| Winsor & Newton Galeria Acrylic Gloss Medium | Artist | Also make glossy, waterproof |
Step 3: Test the Mixture
It is important to test the mixture’s water-resistance and durability before applying it to artwork. Apply a thin layer on paper or cardboard and let it dry to ensure desired results.
Step 4: Apply the Mixture
If you happily with paint mixture, you can apply the paint to your artwork with paint brush or palette knife. Apply the paint evenly and let it dry completely for apply additional layers.
Pros of Applying Polymer
- Make strong water-resistant
- Improved durability
- Very easy to apply
Cons of Applying Polymer
- Can changes the appearance
Pro tips: Mixing polymer medium make strong water resistance again heavy rain. Applying sealer on top coat of painting will make it ultimately waterproof.
Apply Sealer: Step by Step
Applying a sealant on top of acrylic paint is very important for outdoor use. It creates a protective barrier that keeps water from penetrating the paint layer, resulting in long-lasting and vibrant colors.
There have 2 types of popular sealer
- Spary sealer
- Brush-on sealer
How to Apply Spray Sealer?
Step 1: Prepare the surface
Ensure acrylic paint top layer clean, dry, and free from any debris or dust.
Step 2: Shake the spray sealant can
Shake the spray sealant properly before apply. It will ensure the product is thoroughly mixed.
Step 3: Apply the spray sealant
Hold the can about 8-10 inches away from the surface and spray the sealant in a sweeping motion, ensuring even coverage. Apply the sealant in thin layers and let it dry completely between each coat.
Here are some popular spray sealer
| Spary Sealer | Grade | Note |
| Mod Podge Clear Acrylic Sealer | Artistic | Pouler for craft sealing. Non-yellowing, sealing and protecting acrylic paint |
| Rust-Oleum 302151 Universal All Surface Spray Paint | Artistic | Durable, long-lasting |
| Krylon K01305 Gallery Series Artist and Clear Coatings Aerosol | Artistic | Specialized protecting against moisture, UV rays, and fading |
Step 4: Allow the sealant to dry
Allow the sealant to dry for at least 4-24 hours before exposing the surface to water or moisture.
Pros:
- Great for large surface
- Easy to apply
- Most of spray sealer UV protection
Cons:
- Some spray sealants contain harmful chemicals
How to Apply Brush-on Sealing?
Step 1: Select the ideal brush-on sealer.
such as outdoor-specific varnish or resin, that can effectively adhere to acrylic paint.
Here are some popular varnish
| Sealer Varnish | Grede | Note |
| Liquitex Professional Gloss Varnish | Artist | Specifically designed for acrylic paint and provides a high-gloss finish. Make paint waterproof. |
| Mod Podge Waterbase Sealer | Medium | Best sealing sealer, good choice for sealing acrylic paint |
Step 2: Prepare the surface.
Prepare the surface properly. it must be clean, dry, and entirely free of debris, dust, or loose particles to ensure a strong bond between the sealant and the paint.
Step 3: Apply the Varnish
Apply the brush-on sealant in a thin and even layer using a clean and dry brush. Do not apply excess sealant as this can result in a streaky or uneven finish.
Step 4: Allow the sealant to dry
Let the sealant dry completely, adhering strictly to the manufacturer’s instructions, and keep in mind that humidity and temperature can cause variations in drying time.
Step 5: Apply a second coat
If necessary, apply a second coat for maximum protection and increased water resistance of the acrylic paint.
Pros:
- Best of small craft surface
- UV-resistant
- Durable
Cons:
- Need some experience to apply
Bottom line, That’s it 🙂